In any well-designed macOS application, context menus are a critical component for improving the user experience. However, as your context menus grow in complexity, it may become important to organize the items clearly.
One of the ways to achieve this organization is by adding separators between context menu items. This blog post walks you through the process of adding separators in context menus in a macOS application using SwiftUI.
The Problem
Out of the box, SwiftUI does not provide a straightforward way to add separators to context menus. Yet, adding separators can enhance readability and user experience.
Code Example
import SwiftUI
struct ContentView: View {
var body: some View {
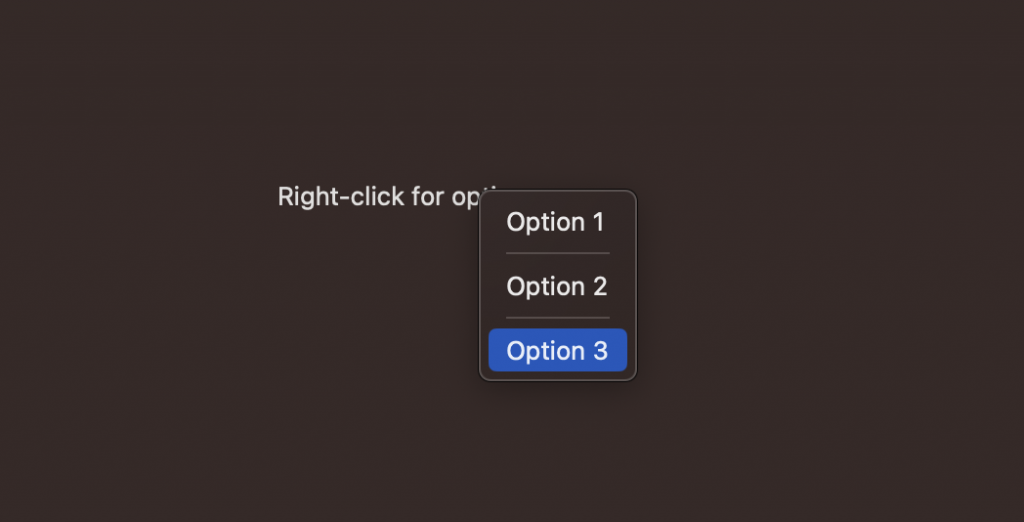
Text("Right-click for options")
.contextMenu {
Button("Option 1") {
print("Option 1 selected")
}
Divider() // This is the separator
Button("Option 2") {
print("Option 2 selected")
}
Divider() // This is the separator
Button("Option 3") {
print("Option 3 selected")
}
}
}
}Code Explanation
Basic Context Menu
In this example, a context menu is added to a simple text view. Right-clicking the text will display the context menu with various options.
The Divider Component
To add a separator line between different context menu options, we use Divider(). In the given code, the Divider() separates Option 2 and Option 3.
User Actions
Each Button within the contextMenu will execute its respective code block when clicked. In this example, it prints which option was selected.
Though SwiftUI doesn’t have a built-in Separator component for context menus, the Divider() works as an excellent alternative. It helps in breaking down a list of context menu options into more manageable and visually separated units, thus enhancing the user experience.