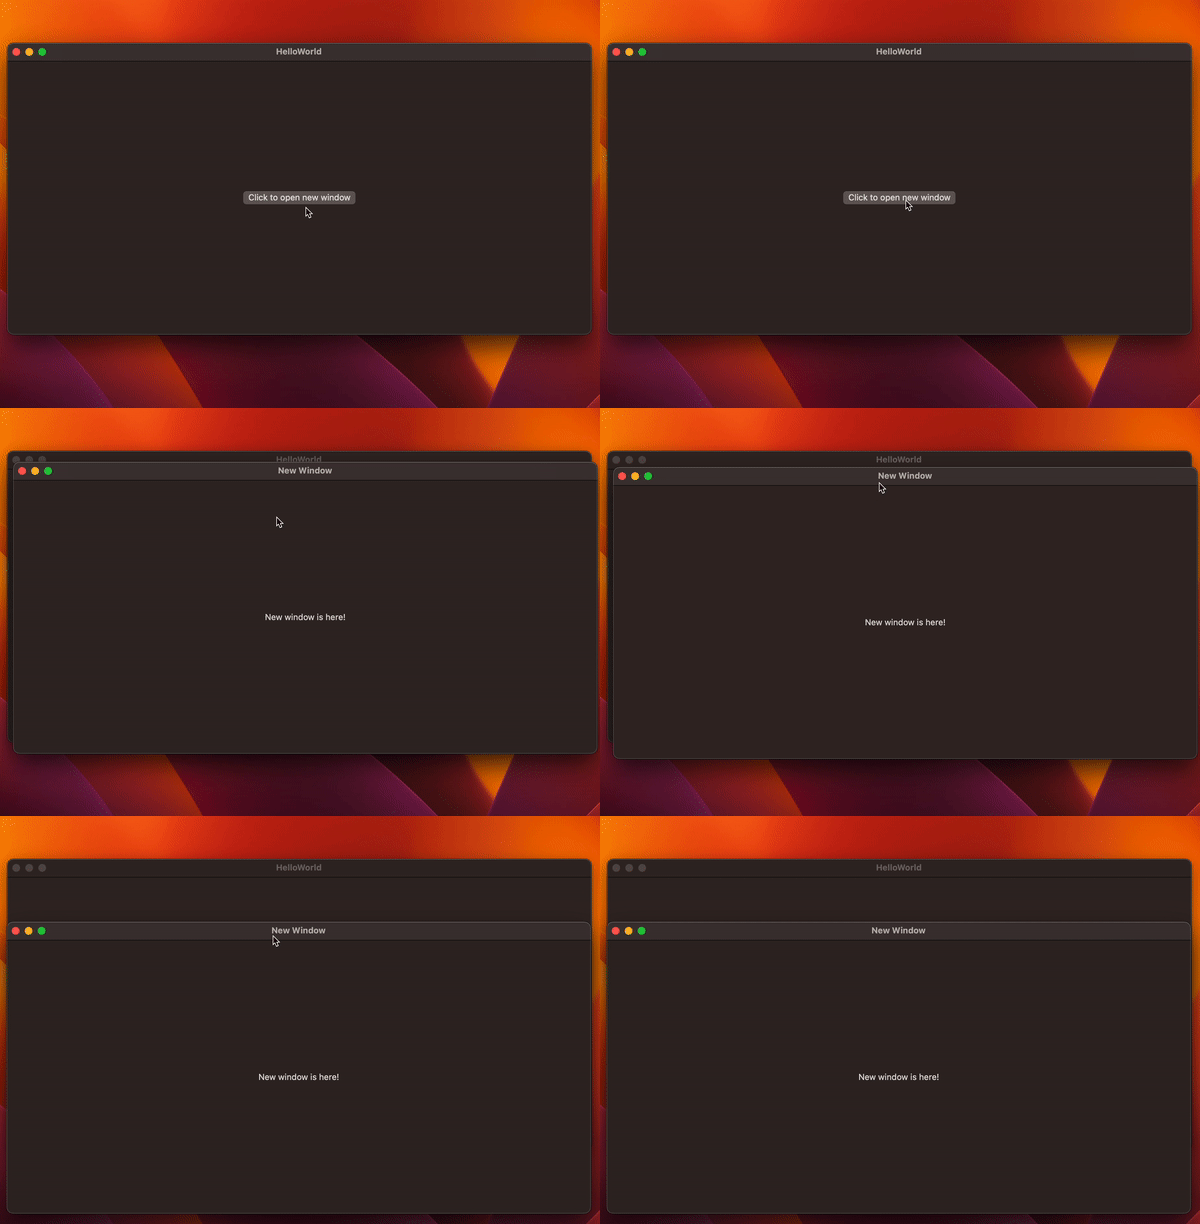
Opening new windows in a macOS application can enhance user experience and offer additional functionalities. In this detailed guide, you’ll learn how to open a new window in a SwiftUI macOS application.
Basic Setup with @main
To set up the basic structure of your SwiftUI app, you’ll start by creating a main App structure that sets the initial scene. Here’s the code snippet for the main app file.
@main
struct HelloWorldApp: App {
    var body: some Scene {
        WindowGroup {
            ContentView()
        }
        Window("New Window", id: "new-window") {
            NewWindow()
        }
    }
}
The WindowGroup hosts the main ContentView, while a separate Window hosts the NewWindow.
Add the Main Content View
In your main ContentView, you can add a button that triggers the new window to open.
import SwiftUI

struct ContentView: View {
    @Environment(\.openWindow) private var openWindow


    var body: some View {
        Button("Click to open new window") {
            openWindow(id: "new-window")
        }
    }
}

struct NewWindow: View {
    var body: some View {
        Text("New window is here!")
    }
}
Here, we’re using SwiftUI’s environment property called openWindow that can open windows by their id. When you click the button, it will call openWindow with the id “new-window”.
Now, let’s connect everything together. When you click the button in ContentView, it triggers the openWindow(id:) function. This function matches the id with the Window defined in the main App structure, and the new window with “New window is here!” text opens.

With these simple steps and code snippets, you’ve learned how to open a new window in a macOS SwiftUI application. This feature can be crucial for providing a better user experience, allowing users to work in multiple windows simultaneously.
[…] open windows programmatically, SwiftUI provides an @Environment variable, […]