Toolbar placement plays a crucial role in the user experience of a macOS application. If you’ve been scratching your head about how to place toolbar items effectively in SwiftUI, this blog post is for you.
We’ll explore different placement options for your toolbar items to help you create a more intuitive user interface.
Common Toolbar Placements
In SwiftUI, toolbar placement options are quite flexible, allowing you to determine where toolbar items will appear. Here are some of the most commonly used placements:
Navigation
Items appear in the navigation area of the window, usually at the top.
Status
Items appear in the status area, usually at the bottom of the window.
Principal
The main action items are placed here, commonly at the center of the toolbar.
Confirmation Action
Items appear in an area meant for confirming actions, typically at the right.
Cancellation Action
Items are placed where users would generally look to cancel an action, often at the left.
Example Code
Here’s an example using SwiftUI to demonstrate some of these placements:
import SwiftUI
struct ContentView: View {
var body: some View {
Text("Hello, World!")
.toolbar {
ToolbarItem(placement: .navigation) {
Button("Navigate") { /* Navigation code */ }
}
ToolbarItem(placement: .confirmationAction) {
Button("Save") { print("Saved!") }
}
ToolbarItem(placement: .cancellationAction) {
Button("Cancel") { print("Cancelled!") }
}
}
}
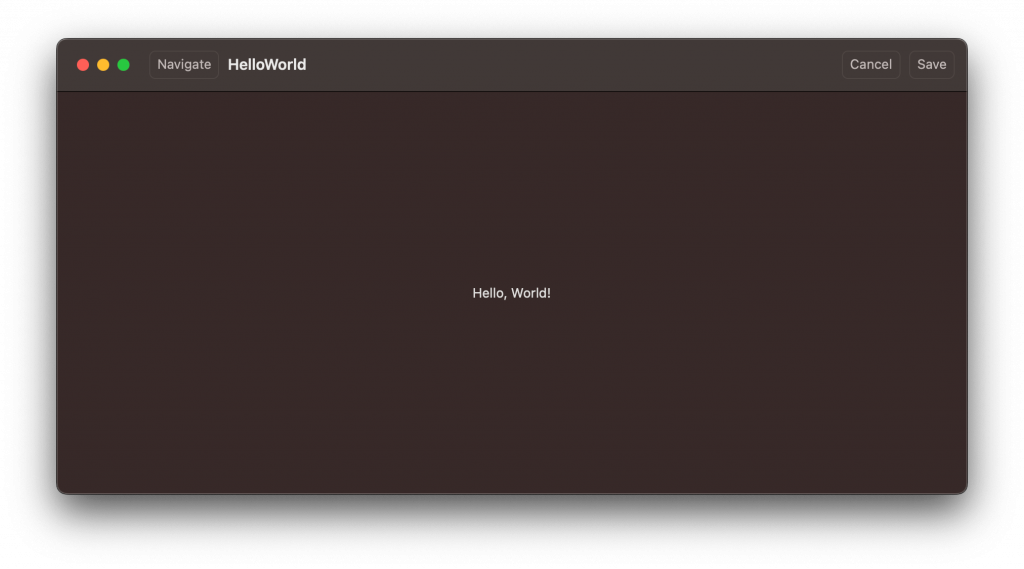
}To place the toolbar items, we used .toolbar modifier and ToolbarItem with specific placements. This example places a “Navigate” button at the navigation area, a “Save” button at the confirmation action area, and a “Cancel” button at the cancellation action area.
Knowing where to place your toolbar items can significantly improve the user experience of your macOS application. With SwiftUI, it’s simple to place items using built-in positions like navigation, status, principal, and action areas.
Custom placements are also an option if you need more control. The example code showed how to implement these placements in a straightforward way.